In the old school days it used to be you’d measure an email campaign’s worth by the number of opens it produced, and the number of clicks to drive traffic to your website. But in these more challenging days, with the open metric being horribly skewed by Apple’s MPP among others, are just clicks enough anymore? Most email service providers should be able to provide conversion tracking, and this by far could be the most important metric – if the purpose of your email is to sell things, then just how much have you sold via your email?
A conversion of course doesn’t just have to be for retail success – you may want to track people that showed an interest in an event or your services, or clicked through on to a specific call-to-action – whatever it may be, it’s all trackable. Depending on the ESP, it could require a little bit of extra code on your website but here’s an idea of how easy it would be with us were we your ESP:
Step 1: Capture your user
We generate a unique conversion ID for the user and campaign which will get included in any URL back to your website from your email. You just need to make sure you can capture the value of the parameter, e.g. cid (this is the default, but you can change it to something else if it unluckily clashes with another parameter of the same name), from the URL and store it in a cookie or session variable to be used later on the conversion page. So, when your email gets sent out, your URL will end up looking like this and you can just snaffle up the cid:
https://www.yourdomain.co.uk?cid=jyUY76YFft5Du88trSlkJ763JGL-iyu78t6DFT5
Step 2: Add a conversion beacon
All you need to do is stick a beacon, or an invisible 1×1 pixel sized image, onto the page after a conversion has been made, e.g. the “Thanks your order has been completed” page if you were tracking sales. Then you can drop the captured ID into the src link for this image back into the platform that will record it for your specific campaign.
<img width="1" height="1" src="http://clicks.yourdomain.co.uk/convert/jyUY76YFft5Du88trSlkJ763JGL-iyu78t6DFT5"/>
You can also juice it up a bit by adding the amount they spent, and even labels to help you break the conversions into categories to see if one area is doing better than another e.g. if you sell white good appliances you could stick in what type of sale you made, a WashingMachine or DishWasher or MultipleProducts:
<img width="1" height="1" src="http://clicks.yourdomain.co.uk/convert/jyUY76YFft5Du88trSlkJ763JGL-iyu78t6DFT5&total=399.99&label=WashingMachine"/>
Step 3: A gremlin in the machine
We all know that despite our best efforts, things can go wrong, normally in the form of a page refresh. In some cases it may not matter, but if you are tracking physical sales you definitely don’t want those being inflated. To prevent that happening you can add something unique to your link, for example an order number, and this means your conversion can never be counted twice.
<img width="1" height="1" src="http://clicks.yourdomain.co.uk/convert/jyUY76YFft5Du88trSlkJ763JGL-iyu78t6DFT5&total=399.99&label=WashingMachine&uid=ORD12345"/>
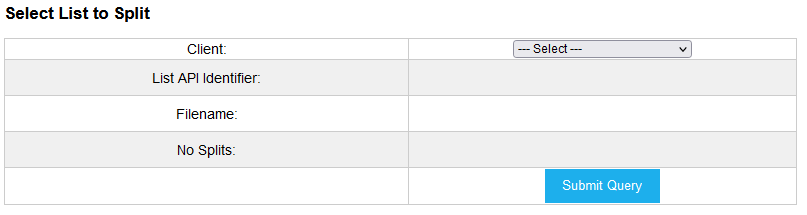
Step 4: Let the conversion begin
Within the platform, all you have to do is toggle it on:
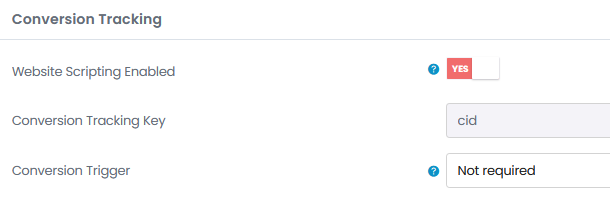
The links from your template will now include the cid, or whatever you want to call it, and you should see your conversions begin flooding in. As you can see here, you can also add an extra follow up to a conversion if you wanted to, e.g. trigger an email to them with extra information automatically which opens up a whole new world of possibilities.
Instant analysis at your fingertips
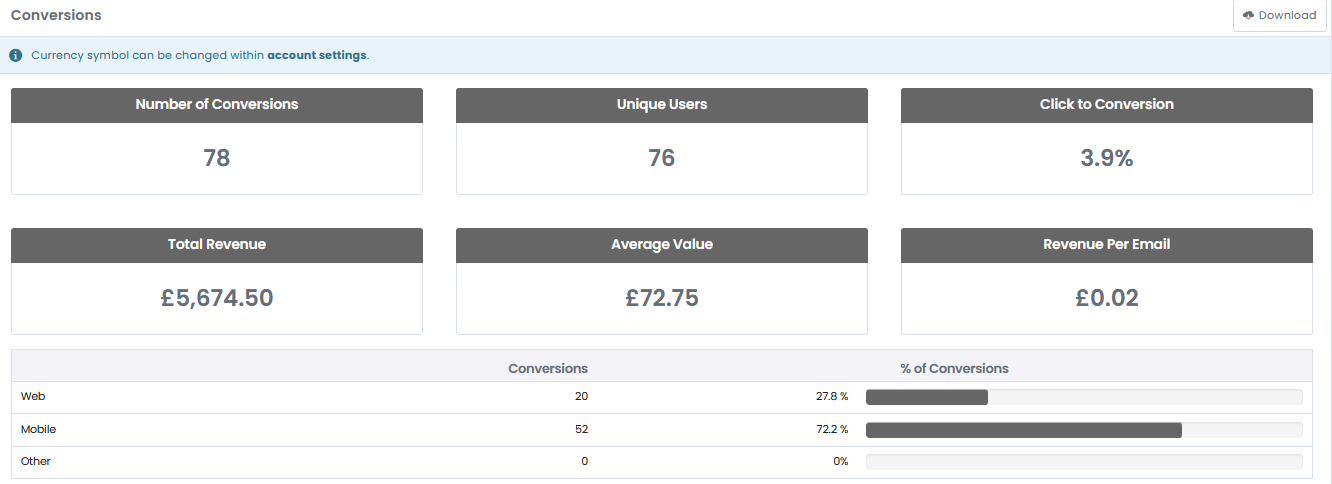
A lot of this could be tracked in things like Google Analytics to be analysed later, but the advantage of doing it within the campaign itself is you then have visibility of your most active customers, so not only do you instantly see how well your campaign performed, you can then build up a better profile on your users to target them further.
Why not get in touch to see if we can help enhance your campaign analysis?